31 Days 'til Halloween - Let it Begin

The past few years trying to post something daily counting down to the best day ever, I fail. Why? Because my job on this TV show I've been lucky to work on has consumed my life for 4 years. And now we're going into year 5.

I've decided to try something different this year. I'm just gonna blog daily as we prep and create Halloween for our set and make each post a behind the scenes as to what each day is like for my prop crew and I working on Hallmark's Home and Family leading up to our big Halloween show.

So day one... I'm sitting alone in our "prop garage" on the Universal backlot on a Saturday prepping our first Halloween DIY segment of the season for Monday (more about tomorrow).

But I'm not really alone, my crew of prop pirates pulled this old friend from storage to inspire our Halloween efforts placing in a corner. Hello October. I've missed you.


P.S. Jamie Lee Curtis will be coming to set Monday as a guest, not a bad way to kick the Halloween season off. Stay tuned.

Chipped Painted Metal Faux Finish How-To, The "Route 66" Look

Old weathered painted metal objects like a vintage road sign, or a abandoned car, or an enameled coffee pot, or even a zombie containment pod have a very unique patina. They have those specific areas of chipped or peeled paint, unlike wood or other surfaces, that just tell you at first glance it's made of steel.

Designer Ken Wingard and I worked together recently on a retro marquee sign wall prop DIY project that although was actually made of wood, had a vintage metal faux finish treatment that sold it as the real deal. It's a super simple trick I picked up from a scenic artist I worked with many years ago.


Here's how to do it. Four easy steps. I'm nicknaming it the "Route 66" look.

Step 1 - Base coat your prop in a dark brown or similar dark rusted aged metal color paint. Go thick with. Once brushed on, pounce it, creating a more textured surface. Let dry completely.


Step 2 - Pour ordinary grocery store salt over the areas on your prop you want to look aged (for this project we used heavier coarse ground salt, but finer ground would work too). For vertical portions, you can defy gravity and make a paste of salt and water and brush on.


Step 3 - Spray paint your prop the color of choice. Let dry.


Step 4 - Brush away salt. You can leave rough edges of paint infused salt or refine the faux finish with some sand paper. Any overall dusty haze the salt leaves easily wiped away with a damp rag or sponge.

There ya go. An easy way to give your props a fairly realistic aged painted metal look.


31st Day of Halloween - The Finished Yard Portfolio

Happy Halloween all! Here's what I've been up to the past month.

I hope to retro-post the "how-to" details on some of the props next week. Especially the plexiglass ghosts you see, an idea I had that wasn't sure would work but turned out really well.

29th Day of Halloween - A Home and Family Halloween

We shot the Halloween episode of "Home and Family" today, which will air tomorrow morning on the Hallmark Channel. Hope you watch. It was kind of epic (for our show).

My prop gang, the wardrobe crew, and the hair/makeup team really came together capturing the fun of Halloween I think. Here are some photos from the day.


25th Day of Halloween - Inside the Psycho House

One of the amazing perks working on the Universal Studios backlot is being able to explore it - as long as you don't interfere with the tour trams or get in the way of production's filming.

My prop crew and I decided to take a team photo the other afternoon on the porch of a very iconic place. Our work often makes us "psycho" so it felt right.


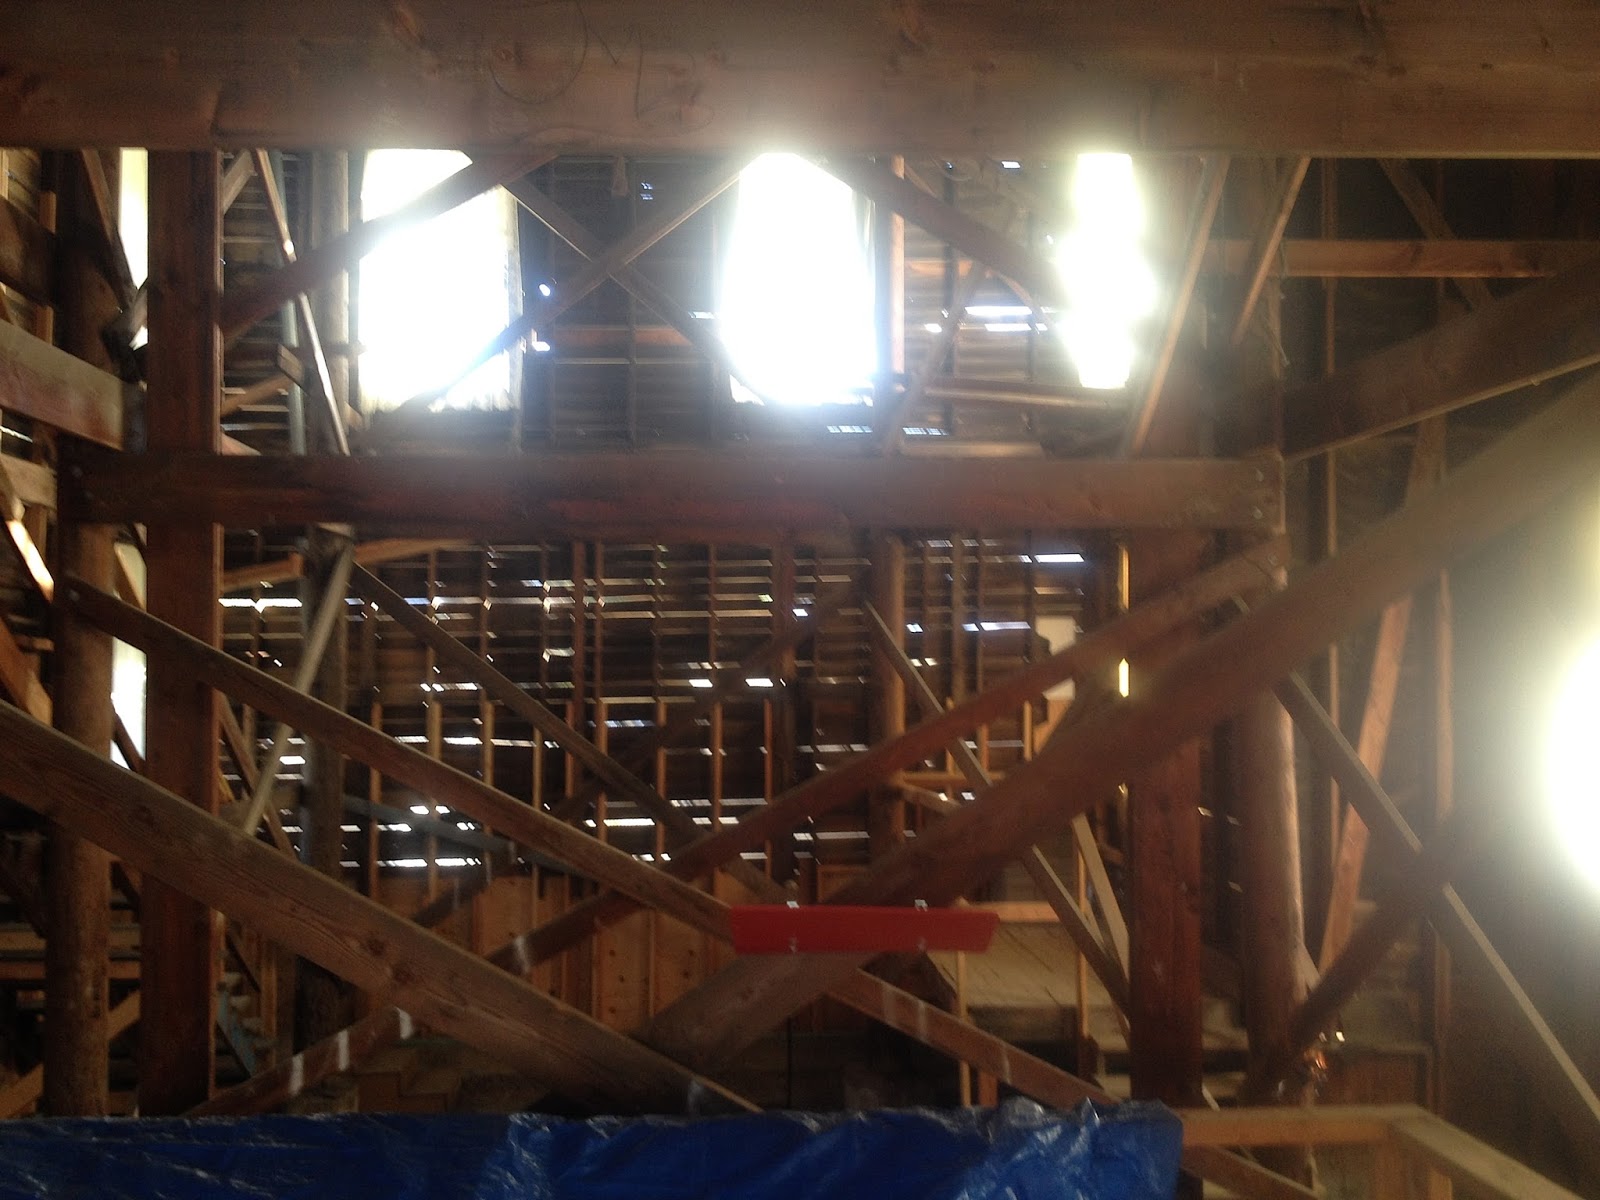
While there, I was compelled to see if the front door was open. It was and I stepped inside this historic home of horror history. Now don't get your hopes up, It's just a facade, which means only the outside looks real. The interior is just bare bones framing holding the four walls up. Yet, for those curious, here's what it looks like...

Rear of house.

Left side.

Right side.

The infamous front.

And here's what the foundation floor looks like. And I did grab a handful of it to create a fun relic jar one day labeled "Dirt from Norman Bates' Basement".

And for those extra extra curious, here's what Norman Bates' doorbell looks like...


6th Day of Halloween - Coffin Coffee Table

I've had this crazy idea for a coffee table for years...


Guess what we made on the show today? I like my job.


How-To soon.

4th Day of Halloween - Monster Warning Signs

Years ago I created a "Frankenstein's Monster" warning sign for my front yard display. Here's that original sign and two NEW ones if you want to use for your haunt or party decor.

DIY suggestions - stain print outs with coffee or print out on old parchment looking paper.


Countdown to Halloween Day One - Cryptastic Start


I've been a terrible regular blogger for a long time, but not a terrible Halloween lover. This is the month I thrive creatively in. So counting down to the big day seems a good time of year to force myself into getting back to regular posting.

Working on the Home and Family show on the Hallmark Channel for the past 3 years has given me one great perk... when Halloween time comes around I get to design and influence some of the DIY segments we showcase. Not because of my 20 plus years experience working in TV, but because producer's know Halloween is my beloved holiday ( and I might stake them in the heart if questioned ).

Our October 1st show today featured making a fun CRYPT walk through facade for your front lawn. It was made in less than a day and was a great project to kick off the season.

Here's the quick sketch I made to sell the idea.


How-To here

Greatest Disney Pin Ever Made

One of my prop assists, Robin, went to Disneyland last weekend and brought back a Disney pin he thought I might like...


Halloween and Star Wars and Disney combined? Well played Robin, well played. You've gained your boss's favor... for now.

Humbug Sketching

So this time last year, elves and reindeer preoccupied my sketching time. This December I've rediscovered a love for Dickens' A Christmas Carol. I think you'll see a lot more doodles in the coming weeks inspired by.