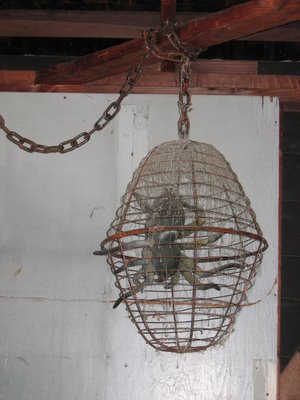
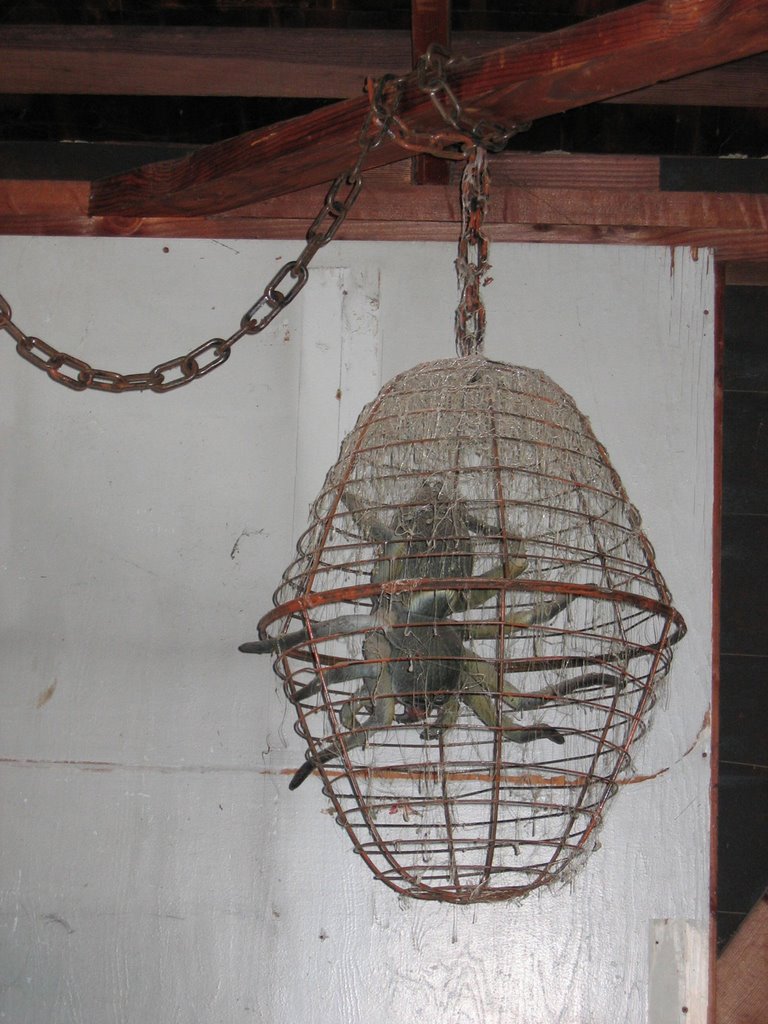
This caged spider is an old project but a favorite. He hangs year round from the rafters in my garage but gets showcased hanging from the front porch on Halloween. The best thing about Halloween decor stored away gathering dust is... it looks better from year to year.
For those interested... below is a brief
step by step for my spider cage.
First...find a giant spider.
I found a good looking giant rubber spider dirt cheap during a 50% off post holiday sale at one of those halloween stores that rent out a vacant shopping mall space for a month. I thought...a giant spider is scary, but one caged makes it seem more dangerous.
Then get this stuff...
-2 matching wire plant hanging baskets ( large enough to hold your spider ).
-6 feet ( or length wanted ) of black plastic chain link ( or real ).
-Spool of wire ( guage? ... anything thin but strong and needs to be low profile ).
-Super glue (
hot stuff super "t" is my fave )
-Spool of 10 lb. or greater test fish-line.
-Paint: flat black, dark brown and orange to create faux rust look or a similar faux texture paint kit.
Now, follow these steps but use your imagination. Any improvements or better ideas welcome.
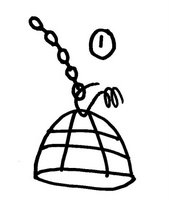 Step 1
 -Pre paint/faux finish the baskets! You'll thank me later. Were possible hang the chain from above at a comfortable working level and lash the first basket to it upside down with wire... strong enough to hold but easy to remove as you may have to adjust the balance of the finished cage later. Now is the best time to faux finish the chain if needed as the attached basket holds it tight.
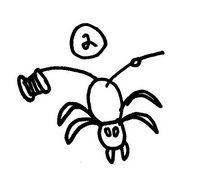 Step 2
- Thread the fish-line through to "butt" or rear spinners of your spider. Tie it off so it appears as a single thread but don't cut away from the spool yet unless you give yourself a foot or two of extra line to play with later.
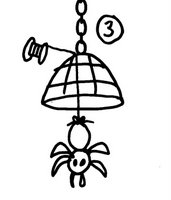 Step 3
- Hang the spider center at the the top of the basket to create the illusion he is trapped. Tie a loose knot as you may need to adjust balance or height inside later.
 Step 4
- Wire the second basket right side up to the previous upside down one. Be sure to line up the spokes to create the cage illusion. Now you can adjust the balance of the cage on the chain or the height of spider in the cage if needed. Secure everything. I suggest a drop of glue on all fish -line ties and glue around the seam where the baskets meet to fill any gaps. You can let the spider hang dead center or as I've done, glue a some of his feet to the cage bars as if he is holding himself up. Do any touch up painting if needed.
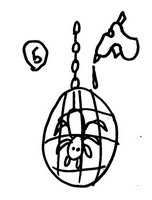 Step 5
- A finishing touch. Creating a
lived in cob webbed domain. First... drink 10 cups of coffee and get shakey hands. Then...hold a hot glue gun 20 or so inches above the cage and squeeze away moving around in random spastic motions. This is the only hot glue project you want all those annoying threads. You can't go wrong here and if too much you can always go back and trim away excess. The hot glue is great as it will last forever and looks real.
I think I might add a huge oversized ol' rusty lock to the cage this year.




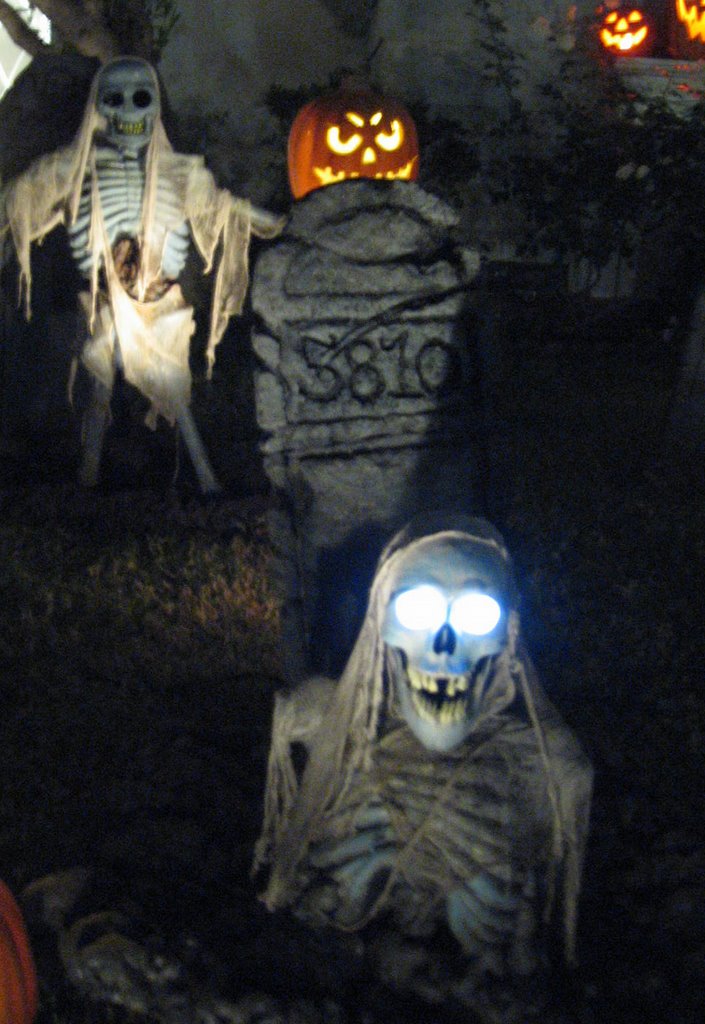
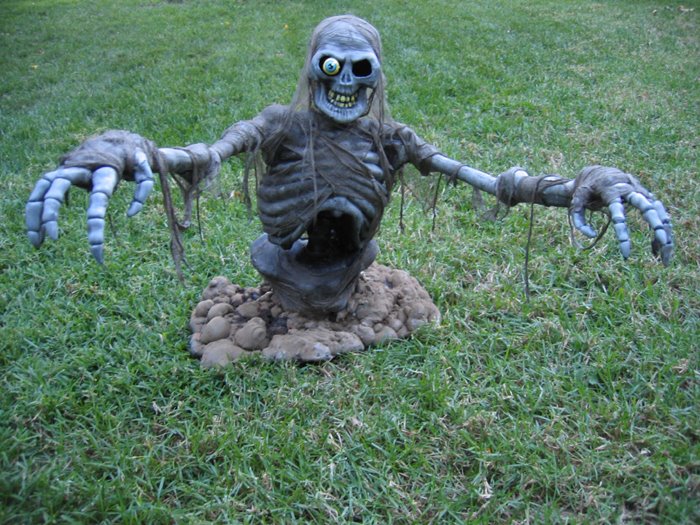
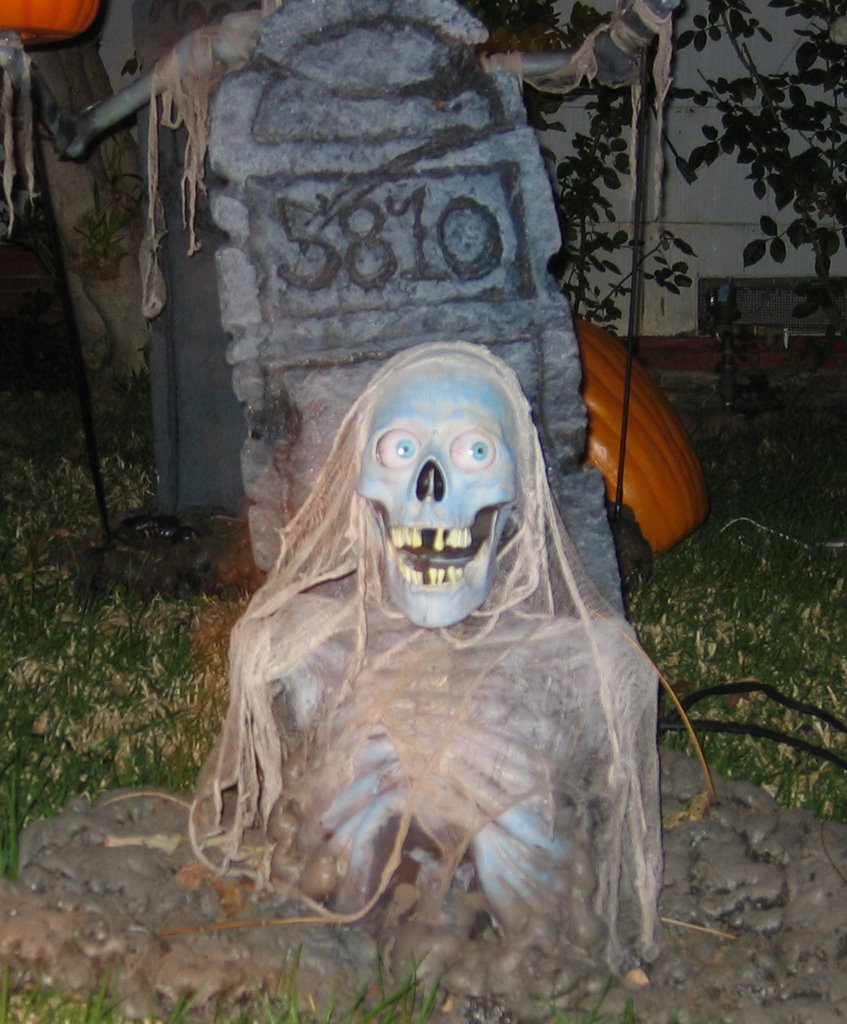 Petty theft came to Halloweentown sometime yesterday. Our "house number" zombie was stolen. It hurts. I really liked this guy. I made it easy for the thief ... the base, tombstone and zombie were all one piece. I could be flattered because it means someone liked it a lot. But it hurts.
 You pass the graveyard...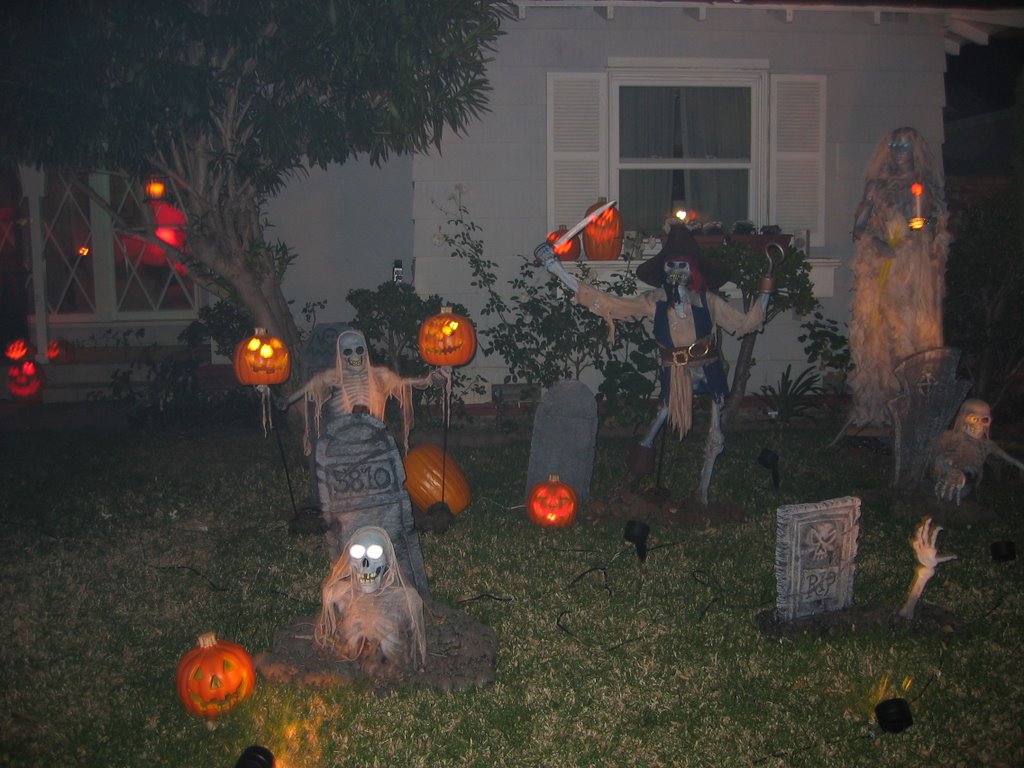




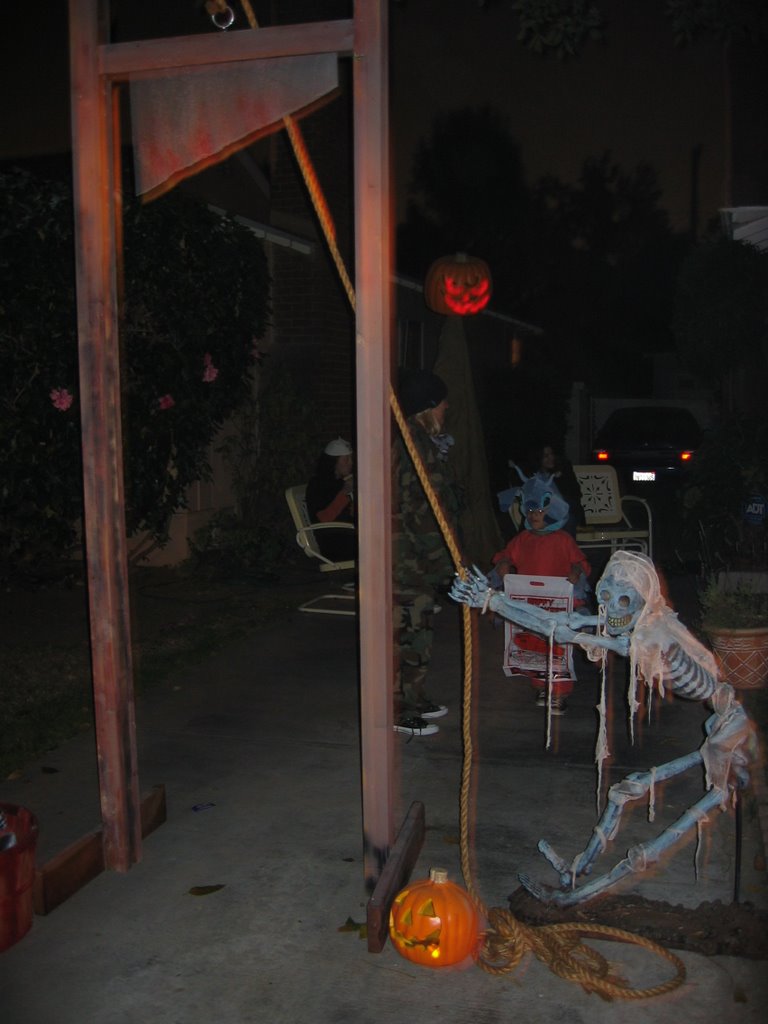


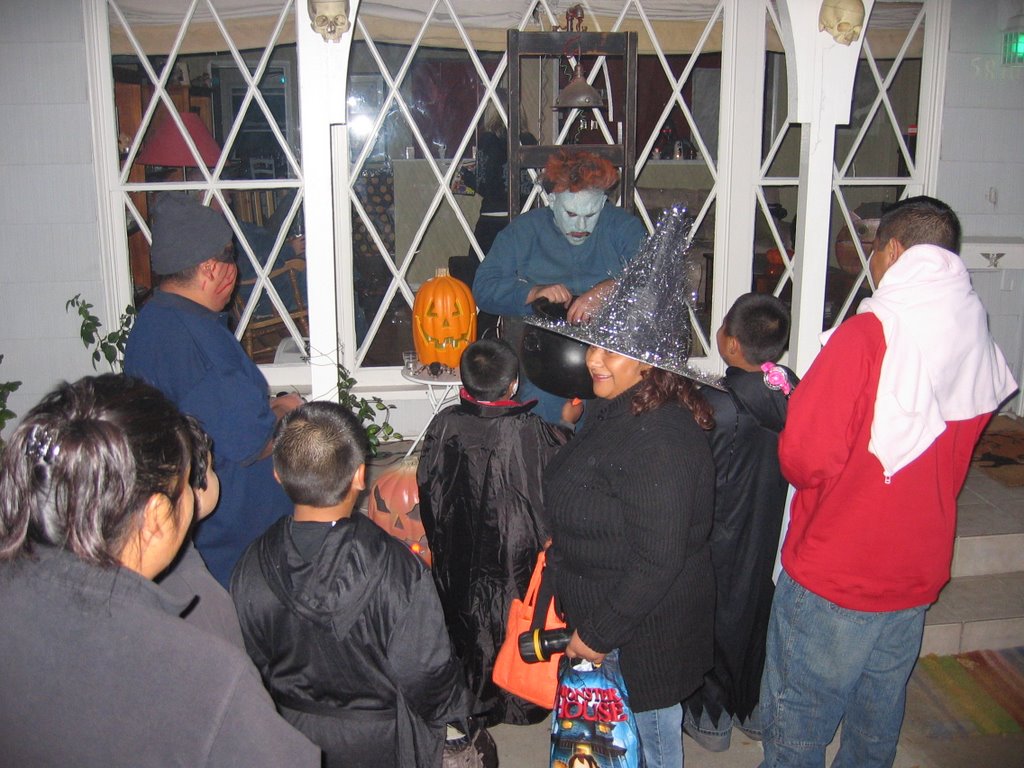

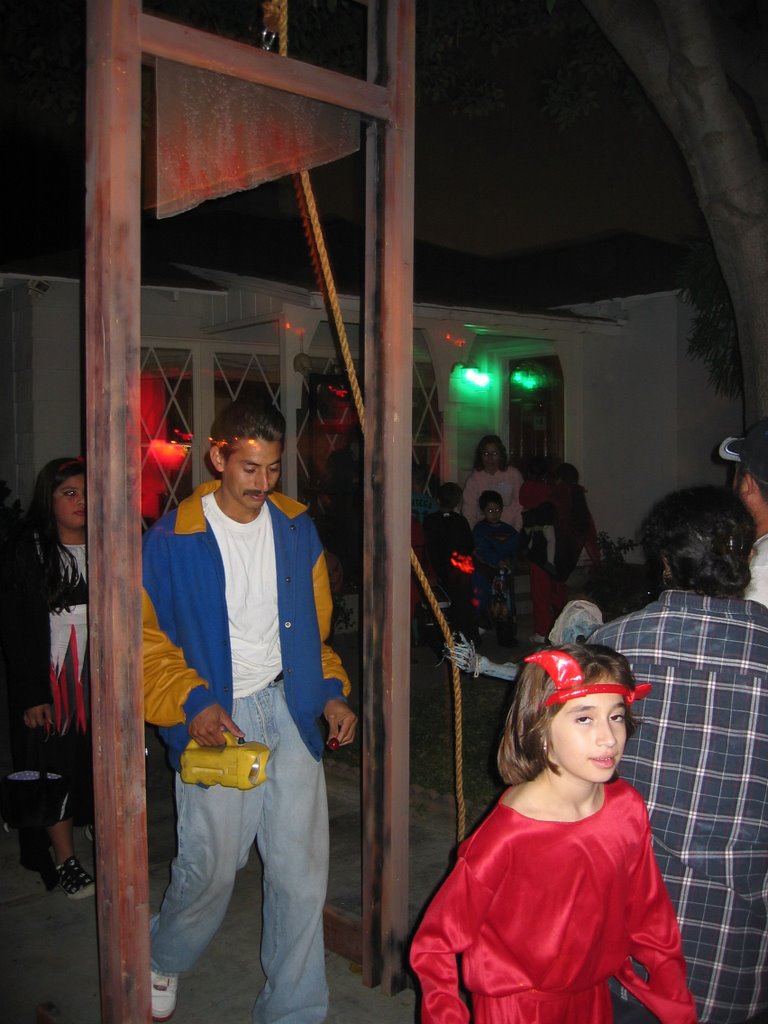


 Bill, Leia, Megan, Devin and Paul.
 Mom and Dad.
 My sister Megan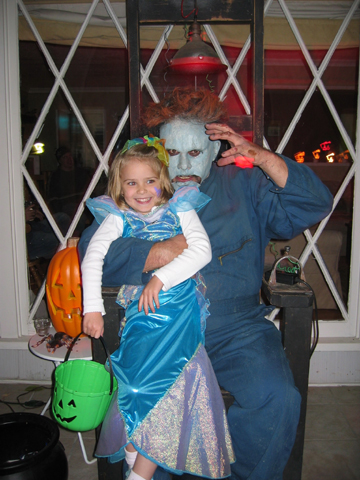

 This year marks a goodbye to the Micheal Myers costume. I'm going to be something new next Halloween. He'll still haunt the place...just on a manniquin.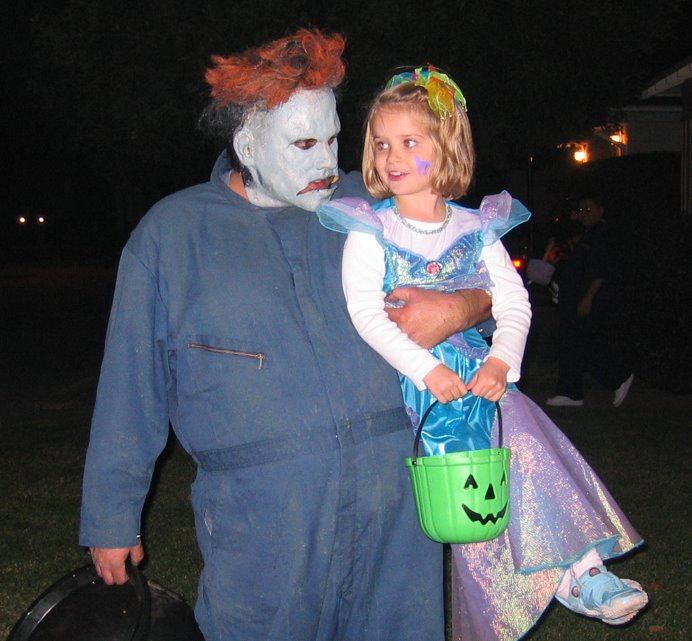




 This caged spider is an old project but a favorite. He hangs year round from the rafters in my garage but gets showcased hanging from the front porch on Halloween. The best thing about Halloween decor stored away gathering dust is... it looks better from year to year.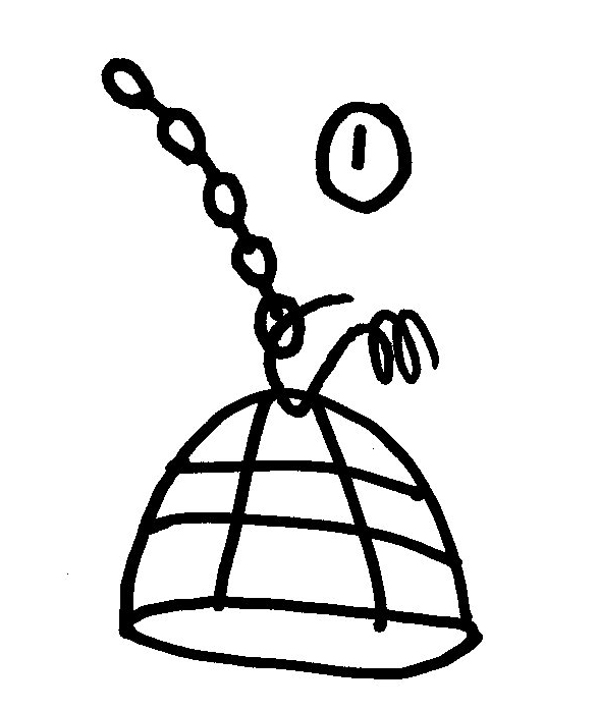

 Step 3- Hang the spider center at the the top of the basket to create the illusion he is trapped. Tie a loose knot as you may need to adjust balance or height inside later.
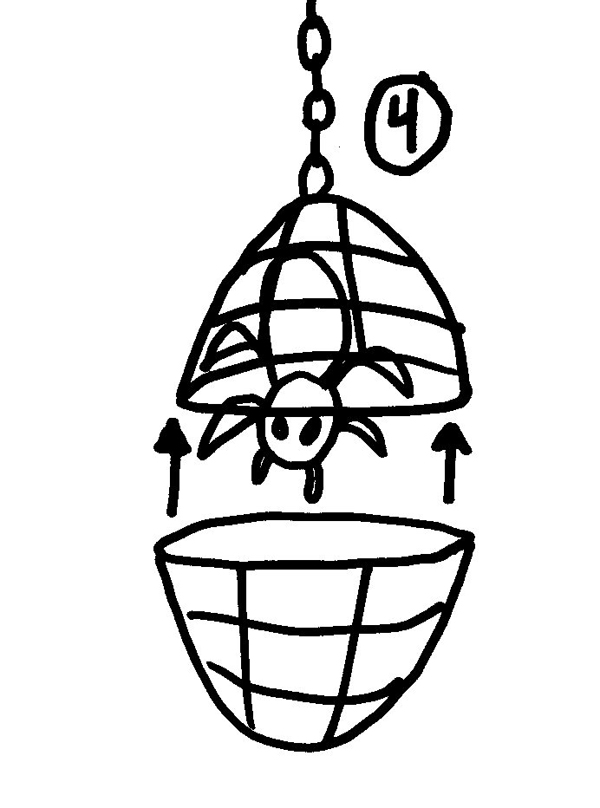 Step 4- Wire the second basket right side up to the previous upside down one. Be sure to line up the spokes to create the cage illusion. Now you can adjust the balance of the cage on the chain or the height of spider in the cage if needed. Secure everything. I suggest a drop of glue on all fish -line ties and glue around the seam where the baskets meet to fill any gaps. You can let the spider hang dead center or as I've done, glue a some of his feet to the cage bars as if he is holding himself up. Do any touch up painting if needed.
 Step 5- A finishing touch. Creating a lived in cob webbed domain. First... drink 10 cups of coffee and get shakey hands. Then...hold a hot glue gun 20 or so inches above the cage and squeeze away moving around in random spastic motions. This is the only hot glue project you want all those annoying threads. You can't go wrong here and if too much you can always go back and trim away excess. The hot glue is great as it will last forever and looks real.
 Click on picture to enlarge.
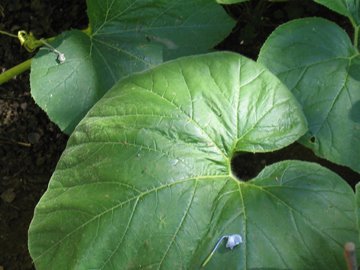
 I have 3 right now on the way.
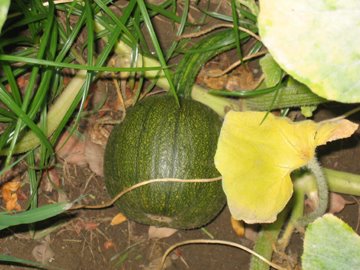 This guy has himself a nice little bed of jade as the vine grew over it and back into the garden.
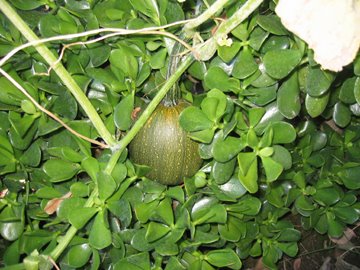 His orange is beginning to show.
 This guy's just starting to grow.
 It may be cutting it close but I have a few other small bulbs with potential.