Making a Life Sized OPERATION Game - Part Four


To catch up see Part One, Part Two, or Part Three.

When we last left off, the visual elements of the Operation board were done. Now it was time to make it work like the game itself.

And happily I got it to do just that.


Here's how, but first a brief disclaimer  -

Not being a "master of" or "trained in" electronic propmaking, this is what worked FOR ME. I'm not saying here what I did is the best way or the safest. Even though it uses a fairly low wattage set-up, it's still electrical and messing with the wrong way could cause a spark, heat, or bit of a shock. Be safe okay? Always seek the advise of a professional first before attempting any electrical gizmo project if you have no idea what you're doing.

The material/parts needed - Found all at the hardware store and my local Radio Shack.

 Red and Black electric wire. I used 18 gauge.
12 volt battery, a small one used for radio control hobbies.
Alligator clips
Metal foil duct tape. Make sure conductive. A good way to know what your buying is, get the one that says NOT to used near electrical stuff, good sign that it is conductive. 
 Buzzer speaker
Flashlight socket base, and get a bulb for it too.


Large metal BBQ tongs. Being a lifesized Operation game, these will be the tweezers. I got one that also had wood pads on the grip.


Now, wiring it all together.  Here's the final board.


Now imagine it flipped over, backwards. Below is a mockup plan of the wiring on the backside.

The overall plan here is the buzzer, nose light, and body part holes are on one circuit (black wire for positive). The tongs are on another (red wire for negative). The negative circuit (tongs) touching the other positive circuit completes it, and makes the buzzer and light work.

- The edge of each body part hole was lined with the metal tape. The excess width of tape was wrapped onto the back of board. Each hole was then connected to each other with a length of metal tape creating a conductive bridge.

- The flashlight socket was inserted from the back through to where the nose is, both the black and red wire were connected to the metal tape bridge.

- The buzzer was glued onto board and both the black and red wire were added to the metal tape bridge.

- Once all bridged, I ran a single black wire from it to the positive terminal on the battery (easily attached with gator clip).

- The metal tong was connected with red wire to the opposite negative terminal on battery. I also used a bit of metal tape to attach red wire to tongs. I left plenty of lead to allow players to go all around the board (about 8' worth) when they wanted.


In case your wondering- no, no shock touching the bare metal tong while the circuit bridge was complete. The wattage is really low.

Now that the bells and whistles were figured out. I just had to create the boxes under the board to hold the body parts to be removed. It was a bit tedious, but not brain surgery to do. I traced the shape of each hole onto black foamcore. I cut out each shape with an extra 1/2" width around it. I then literally bent, creased, and warped 1" wide strips of cut foamcore around the edges, hot gluing in place. Now each body part had it's own shallow box that was glued onto the back of the board under it's matching shape.

The final detail. Our board's character's glowing red nose.


This was simply a red plastic "ball pit" ball we happened to have in our prop stash that was the perfect size and translucent enough to see light through. I just cut a small hole big enough to slip over the protruding flashlight bulb and hot glued in place.

And so the Operation board making comes to an end. Thankfully it worked flawlessly and became a fun game segment on the show. I'm under orders to save it as it might be used again. There goes taking it home and making it my coffee table.

Left to Right - Mark Steines, Cristina Ferrari, Camilla Luddington (Grey's Anatomy), Dr. JJ Levenstein, Jessie Jayne.

Temple of Doom - 30 Years Ago This Weekend

30 years ago this weekend, I returned home from my freshman year at RISD.

I walked in the door, tossed my bags in my room, and grabbed the newspaper to see what the next showtime was for Indiana Jones and the Temple of Doom. Minutes later I was off to the Movieland Cineplex in Yonkers NY.

Yes, seeing that movie was what I did on my first night home from college. I could not wait another moment for the next chapter featuring my favorite movie hero.

 Below are a few videos to celebrate Temple of Doom's 30th, hope you enjoy.

The very first teaser...


The official trailer...


 The "Making Of" in three parts...


And this movie featured one of my all time favorite movie posters ever made (Illustrated by Bruce Wolfe)


Creative Inspiration: Set decorator Roger Christian


You know how iconic many of the original Star Wars prop and set designs are right? Did you know many were the result of one guy, with little budget... designing, building, and making on the fly?

This recent and short Esquire interview is a must read for every low budget propmaker and set designer, professional or just getting started. It will fuel your creativity for months, it has mine.

Click HERE.

Thanks to Eric at Prop Agenda for leading me to the interview.

Making a Life Sized OPERATION Game - Part Three

I'm back, sorry for the long delay following up on this project. When we last left off, the main game board was done. Now it was time to lock in and layout the body parts to be removed.

The original idea by producers was to make the Operation game DIY themed, each organ had a crafty/how-to pun. Sort of like the original game where a bucket represented "water on the knee" and not an actual body part.

The initial part list was very long with a lot of fun ideas, but the segment producer and I needed to edit it down to what parts would work well spaced across the board.


As I began to lay it all out and make templates for the holes yet to come. The hope was to make each body part an actual 3-dimensional representation of that body part (as illustrated by the picture below, using wrenches for the "wrenched ribs" and a piece of wood for the "plywood patella").


Just then, at this point, the game was revised. As happens often in TV. Instead of the DIY theme, it was decided to make it a challenge to see how well the players knew ACTUAL human anatomy, picking and pulling the right body part based on a clue. I must admit, this made me very happy. The clock was against me, and making a faux liver was time consuming enough, but also having to glitter it?

There was a second revision that also worked to my deadline advantage. I suggested this one, and was thankfully approved. While trying to make 3-dimentional parts work, I discovered some parts would be far more difficult and awkward to remove than others. It would really slow the game play up. My change was that all be flat cut-outs (like the original game) so each part was similar in weight and thickness, but the odd shape of each would prove challenging. I would also add (again like the original game) a knook or cranny the tweezers could easily grab (if the players noticed it).

Now that the game was figured out. I plotted out the parts and sizes on the board in actual size by placing tracing paper over and drawing each body part hole. I then sketched the actual body part onto the trace paper obviously smaller than the hole so it could be removed. Next, I inked each sketch, scanned, and colored in Photoshop. Several examples...


Happy to say each happened to be under 8.5' x 11" in size so I could print out on my own printer. I spray-glued them onto black foam core (so the outlines matched the edges) and cut out with an X-Acto. Body parts to remove done!


This may seem redundant, but to ensure each hole was the right size, each finished part became a new template that I re-traced onto the board. Only then did I cut the hole in the board for each (about a 1/2" wider than the part).


Next in Part Four, making the boxes under the holes to hold the body parts, and the electronics to make BUZZ and the nose light up!

Making a Life Sized OPERATION Game - Part Two

When we last left off, the character board was done. It needed to be secured into a frame, which would not only make it stable, but act as a blind to hide all the electronics and body part boxes  to come underneath it.

Pretty simple build, the main part was 1"x 6" pine, I spent a little extra money on pre-primed board to speed my painting up ( I'm under a tight deadline). Next I added a second 1"x4" board frame on the inside ( I went cheap on that wood, no one will see it). It added stability, and by recessing it created a shelf for the game board to rest on. By the way, if you like making things out of wood, treat yourself to a brad nail gun and a compressor. It'll change your creative life for the better.


After a successful test fit, it was painted a nice aqua green to match the character board, and a color that felt surgical to me.


With the main board completed, it was now time to make it the actual Operation game. It needs holes filled with body parts to remove. This took careful planning. I had one shot at cutting into the pristine finished board. I was going to create a large trace paper cover to layout, sketch, and plot hole patterns on, but lucky for me, the nice guy at Kinko's gave me their first "oops" printing for free. Made life easy, and much more accurate using as a mock up.


Next in Part Three - cutting holes, and making bones and organs.


Making a Life Sized OPERATION Game - Part One

 You remember the classic board game Operation right?


For years, I've quietly always wanted to build a life sized version. The thought hit me having a couple of beers in a Cleveland bar long ago. No offense to pool table or shuffleboard fans, but if I owned a gin joint, a giant Operation board would be the game of choice.

Well, guess what Home and Family producers (planning a game segment later this week) asked for? I jumped at the chance to finally create one!

Going to do my best to post about the process over the next couple of days. Time is short and I'm literally making it up as I go, so don't expect a sure proof "how-to".

First thing yesterday I sat with pencil and paper, designing and laying out the board. Because it's our show's version, producer's have come up with original body parts to remove (more about later).


Next I cartooned finished art of my own goofy looking patient character. Where's his nose you ask? Like the original game it will be a red bulb that lights up. Where are his nipples you ask? Design choice, keeping the space clean for body parts (kept the belly button though).


I sent the art to Kinkos to be enlarged, printed, and mounted on foamcore. Picked it up this morning. I thank the prop gods we have a company van. It would not have held up well strapped to the top of my Corolla.


Next in Part 2 - building a frame, figuring out body organ removal, and making them. That's what I'm doing today.

Propmaking Ego

The difference between being an egotistical propmaker and a professional? When a tin can telephone is needed. The egotistical propmaker asks "Seriously?" The professional propmaker asks "Ya need it to work?"

The one I was asked to make worked.

Easter Bunny Door 2.0

Through this door, and a 100 feet down, there is a rabbit's vast workshop/warehouse in which a billion eggs are painted ready to be hidden on Easter morning.


A few years back I wrote about an Easter Bunny Door display I created for my front lawn tree. I offered up that idea to Home and Family producers and it became a DIY on the show last week. The project also marked the return of the fake tree I created for the maple syrup tapping segment a couple of months ago. 


Here's the How-To segment from the show.

Three Cartoon Characters

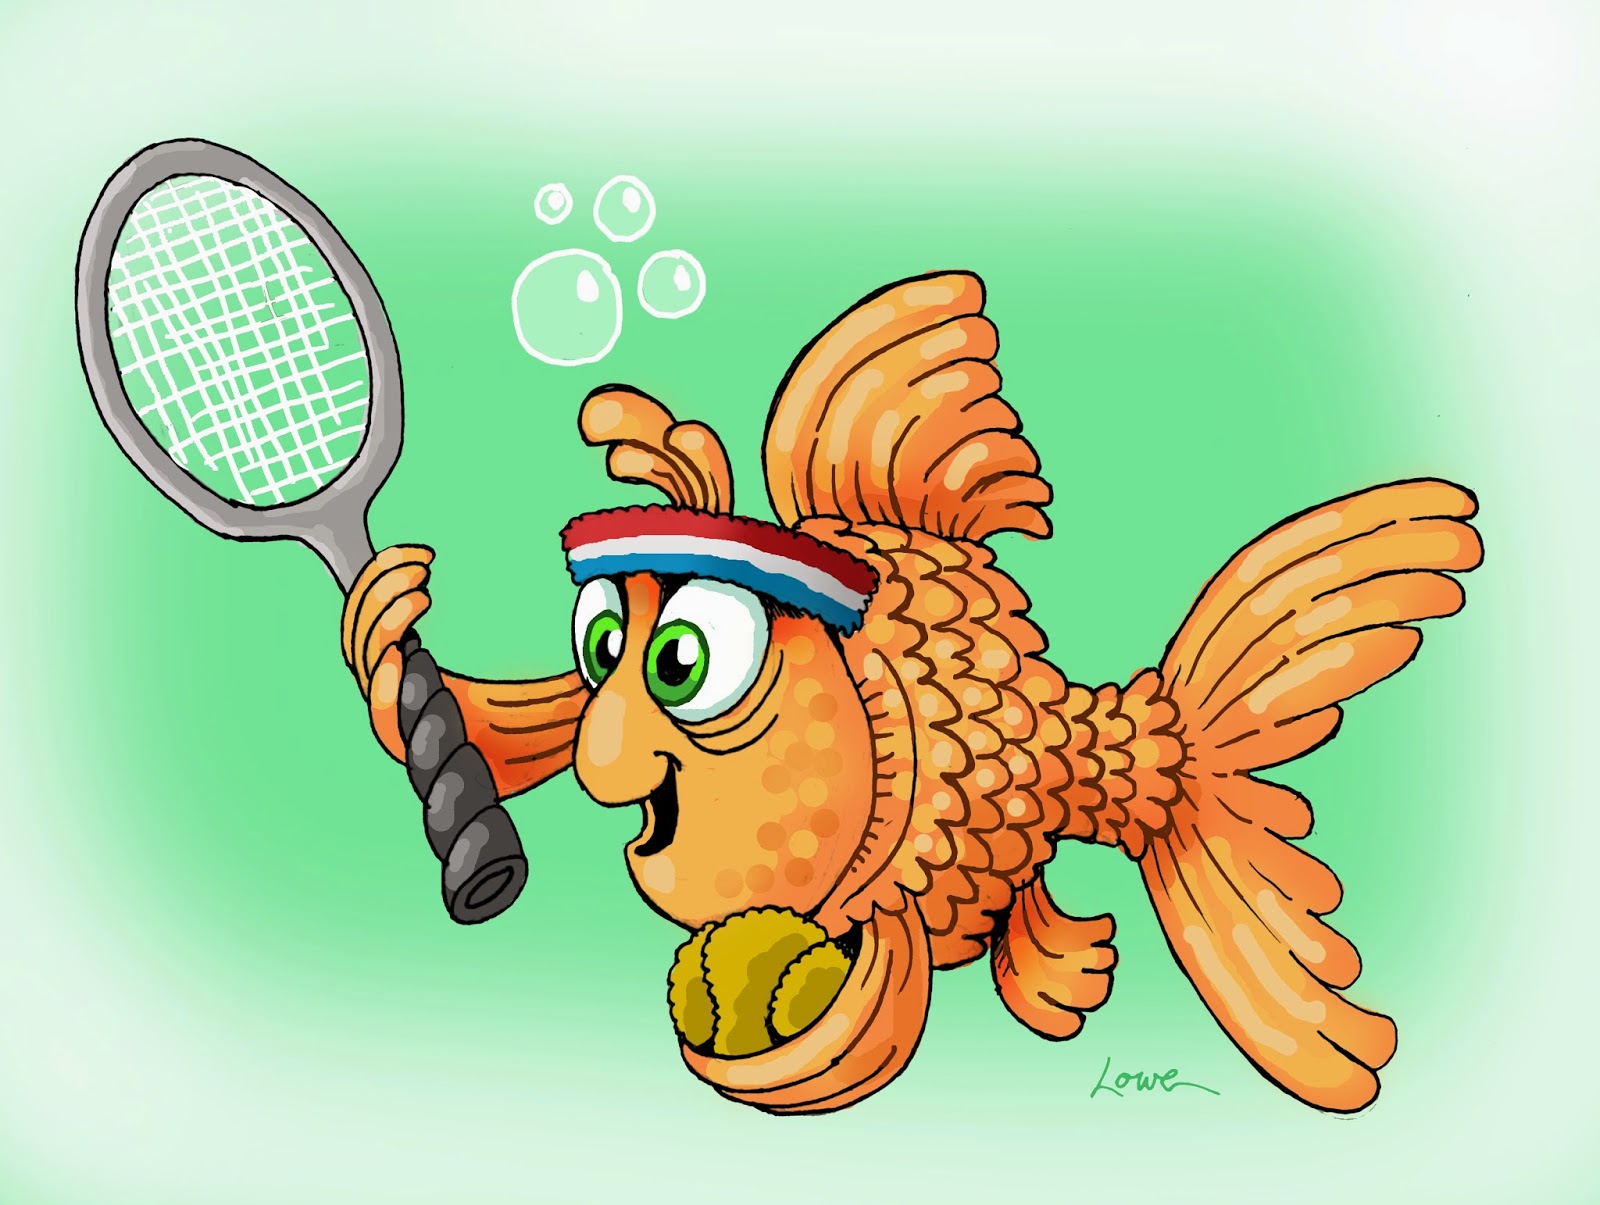
Sometimes on the show I get to flex my cartooning muscles. Recently I got to illustrate some characters so our hosts could try and do cartoon voices for them. Here's what I came up with.

I should note the goldfish idea came from the meeting the night before when Mike Hinkley our editor pitched this idea saying "What if Dave drew some characters, like a fish playing tennis?" That's how fast things happen on this show sometimes.


 If you'd like the see the segment these were drawn for, click HERE.

Creative Inspiration: Jackson Shrub Supply

I've rented from these guys often over the years for various projects. Every time I go there and wander around their lot I get inspired. This company has been around since Gone With The Wind. Here's a (oddly edited) video of Huell Howser touring the shop from several years back.

This is the story, of a prop for a Brady.


Awhile back Florence Henderson was a guest on Home and Family. On the same episode producer's planned a game segment to play. It's become the norm that I create some kind of fun themed trophy prop for the winner. That day's game, with Ms. Henderson playing and The Brady Bunch in mind, was to guess old TV show themes.

As someone who grew up watching the Brady's, I couldn't think of a better trophy than the evil taboo tiki from their classic trip to Hawaii episodes. You remember those right? When the kids found the tiki at Mr. Brady's construction site and it cursed all who wore it? Then Vincent Price showed up to tell them how to end the curse?

I decided to custom make one for the challenge and fun of it. It's far from screen accurate, but I knew it wouldn't be, not having a whole lot of time to create. I was just going for a recognizable nostalgic facsimile to sell it.

Here's how I made it.

First, after pulling lots of reference from the web, I roughly sketched the idol onto a piece of random craft foam (from the prop stash).


Next I began sculpting it. Best part about craft foam, it doesn't really require special tools. I literally used a kitchen parring knife to roughly cut out it and whittle it, then with my own fingers, I pressed and mushed the foam until it had the basic shape and form.


I then added the smaller details onto it with Model Magic.


Once the Model Magic set up, I coated the whole thing a coat of Fix-It-All patching compound. Once dry, I sanded globby spots and carved in the finer details like nostrils, defined lines, grain, etc.


It was finished with a base coat of grey acrylic, then a wash of watered down black-brown acrylic, and a dry brushing of light grey.


Was this the story of a prop that represents my best work? No.
Was this the story of a prop that I'll never forget making and glad I did? YES!


Oh, and yes, if you're wondering, when the trophy tiki was presented, our fantastic soundman added the famous evil music sting from those episodes.

A very good day at work.

A long time ago, in a suburb far, far away... I thought Lando Calrissian was one of the coolest characters ever to exist in the Star Wars universe. But did I ever think one day I'd meet him? Nope, never.

Ezra The Hitchhiker

My Haunted Mansion hitchhiker sketch trilogy is complete.


Now I want to Photoshop them all together in their proper lineup. Soon.

Gus the Hitchhiker

Added some color to the ol' Gus the Haunted Mansion prisoner sketch I posted a little while back.


Ezra is soon to make an appearance.