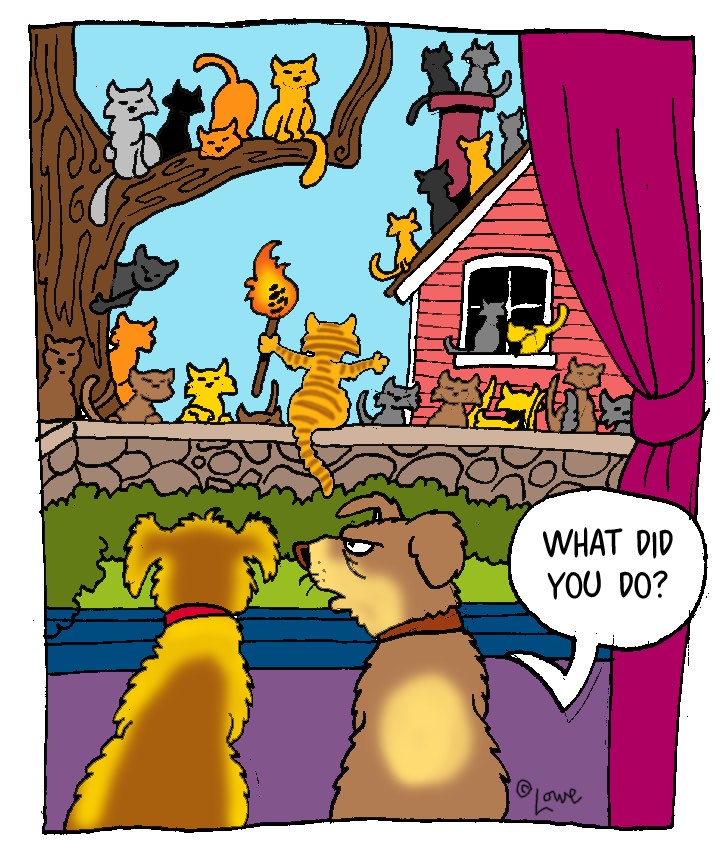
DIY's CRAFT LAB this week...Part 1.

This has been a long week working on DIY's Craft Lab. Lot's to tell but here are a few highlights...

Show Producer Brian and his A.P. (associate producer), Pirooz taped their last show this week and they arrived extra early on Wed. to make sure it went smooth...


I noticed the camera men are starting to get tired and grumpy, good thing we wrap next week...


New to the show this year is the CRAFTERS, they are 2 people hanging out each episode who make projects inspired by the craft topic. Kelsey coordinates casting them and helps them with the projects so they are done to show off in the last segment of each show...

The days are long but Kevin, the supervising producer has us meet in the parking lot each morning for the daily pep talk...

I'll have more behind the scenes details later in part 2.

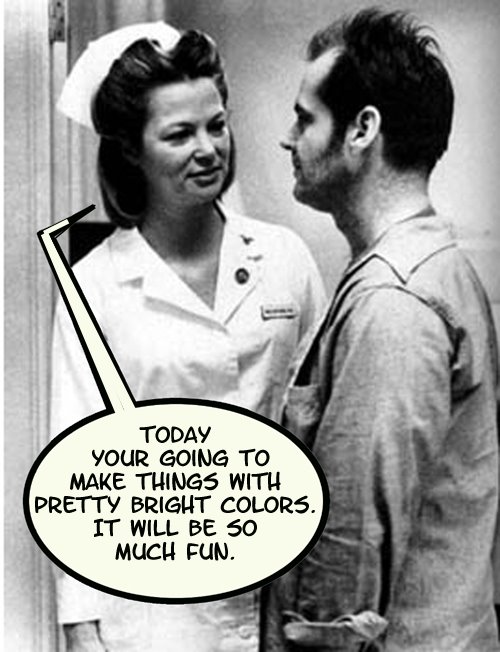
Saturday Morning Cartoon

Countdown to Halloween 4

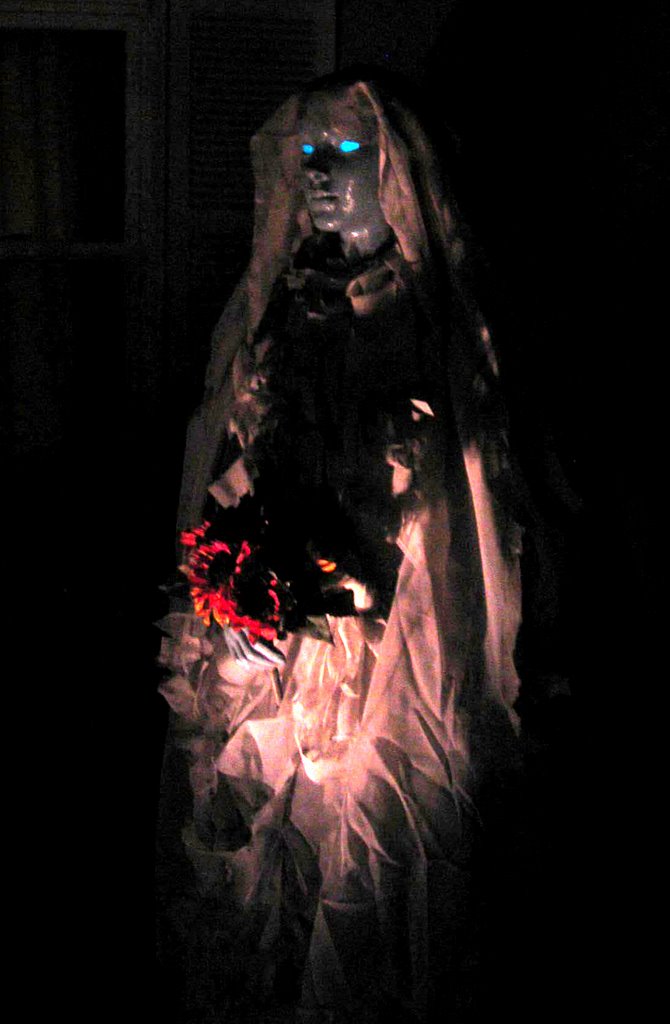
I started to decorate the front yard this weekend. Below are a few sneak preview pictures. I've got 12 more skeletons in progress plus a few other surprises. I've improved the bride from last year's foam head on a stick using a real mannequin . Maybe next year I'll give her a real dress.


Sunday Sketchbook Page

Nude decending unfinished staircase. Pencil on paper.


Uncle Dave the Destructor!

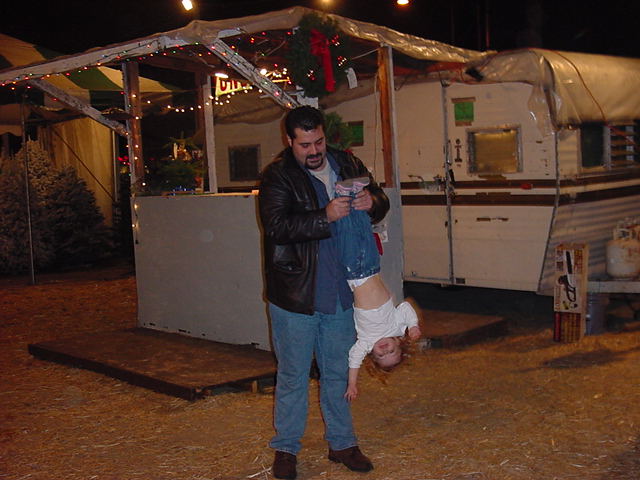
I'm up late and thinking about my 4 year old niece. I can't help laughing thinking what a crazy nut she is... especially remembering what she said the last time I saw her.

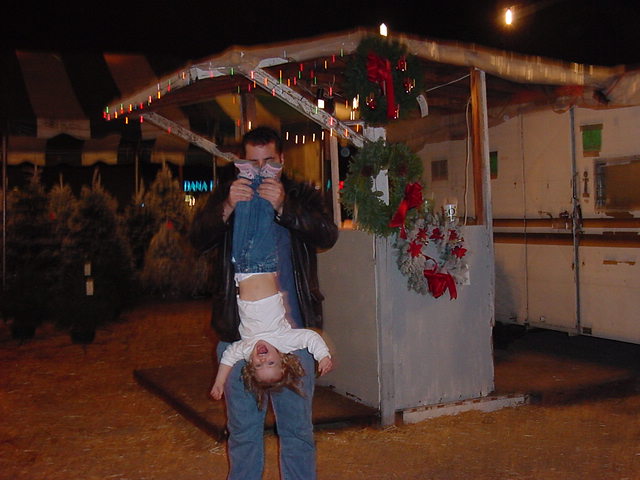
She spews out such insane stuff . Honestly, I was wondering if she had brain damage. Then I remembered these photos...


Her 4 year old crazy nonsense is indeed brain damage...I'm a bad Uncle.


The line is drawn using glitter.

Yesterday working on DIY's Craft Lab, I discovered there are two types using glitter...


You feel the need to add glitter to your project. You dab on the glue and pause a moment and think..."which one am I ?...which one ?"

Saturday Morning Cartoon

Waking up without Coffee.


In 1991, I was at a friend's Saturday afternoon BBQ party. A nieghborhood kid was going door to door with a puppy.

"My parents won't let me keep her" He said. I named her Coffee and 16 years later she had become my parent's dog and a beloved family member.

Yesterday, the family said goodbye to her.


Over the years Coffee was the gentle friend. She was never needy. She always seemed to know when you were busy or when it was a good time to go for a full back scratch.
She was first at your side no matter how early you woke up or how late you went to bed. Coffee was a constant presence keeping Mom and Dad safe for 16 years. She did a good job. There are no great heroic dog stories to tell.

She mentored several pets through the years, teaching them all our family quirks. I can't recall her bark. The only sound I can remember her making was a "huurumpf" when lying down as if saying..."I love 'em, but they make me nuts."

Coffee is survived by Max. Coffee taught him well and I'm sure he is not less than 5 feet from Mom or Dad as I write this.

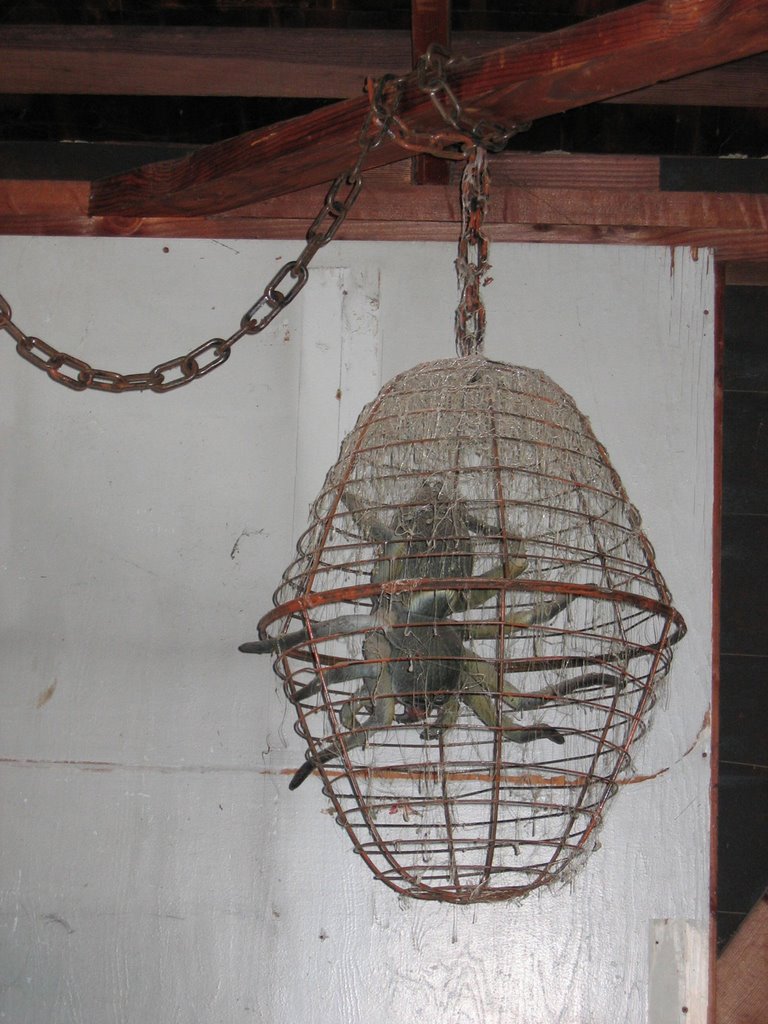
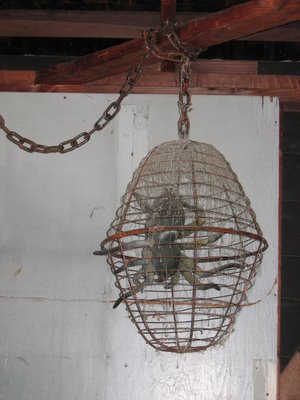
How To Make A Spider Cage .

This caged spider is an old project but a favorite. He hangs year round from the rafters in my garage but gets showcased hanging from the front porch on Halloween. The best thing about Halloween decor stored away gathering dust is... it looks better from year to year.

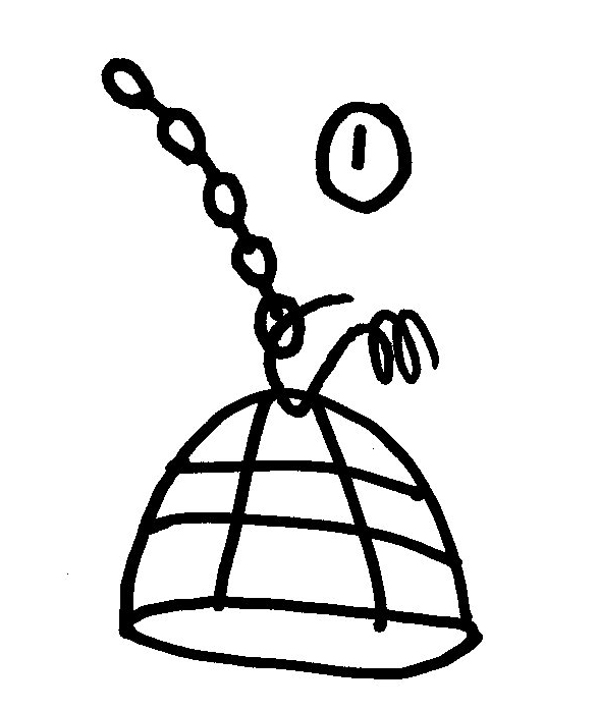
For those interested... below is a brief step by step for my spider cage.

First...find a giant spider.

I found a good looking giant rubber spider dirt cheap during a 50% off post holiday sale at one of those halloween stores that rent out a vacant shopping mall space for a month. I thought...a giant spider is scary, but one caged makes it seem more dangerous.

Then get this stuff...

-2 matching wire plant hanging baskets ( large enough to hold your spider ).
-6 feet ( or length wanted ) of black plastic chain link ( or real ).
-Spool of wire ( guage? ... anything thin but strong and needs to be low profile ).
-Super glue ( hot stuff super "t" is my fave )
-Spool of 10 lb. or greater test fish-line.
-Paint: flat black, dark brown and orange to create faux rust look or a similar faux texture paint kit.

Now, follow these steps but use your imagination. Any improvements or better ideas welcome.
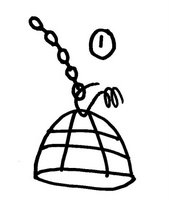

Step 1 -Pre paint/faux finish the baskets! You'll thank me later. Were possible hang the chain from above at a comfortable working level and lash the first basket to it upside down with wire... strong enough to hold but easy to remove as you may have to adjust the balance of the finished cage later. Now is the best time to faux finish the chain if needed as the attached basket holds it tight.
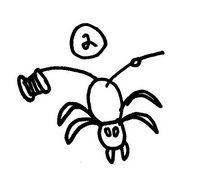

Step 2- Thread the fish-line through to "butt" or rear spinners of your spider. Tie it off so it appears as a single thread but don't cut away from the spool yet unless you give yourself a foot or two of extra line to play with later.
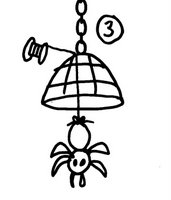

Step 3- Hang the spider center at the the top of the basket to create the illusion he is trapped. Tie a loose knot as you may need to adjust balance or height inside later.

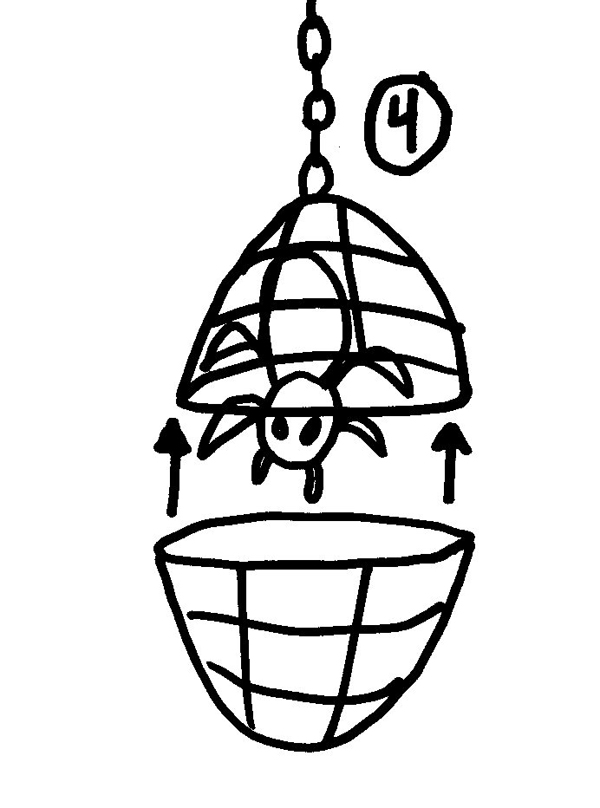
Step 4- Wire the second basket right side up to the previous upside down one. Be sure to line up the spokes to create the cage illusion. Now you can adjust the balance of the cage on the chain or the height of spider in the cage if needed. Secure everything. I suggest a drop of glue on all fish -line ties and glue around the seam where the baskets meet to fill any gaps. You can let the spider hang dead center or as I've done, glue a some of his feet to the cage bars as if he is holding himself up. Do any touch up painting if needed.
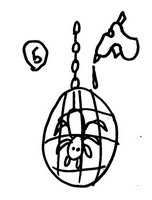

Step 5- A finishing touch. Creating a lived in cob webbed domain. First... drink 10 cups of coffee and get shakey hands. Then...hold a hot glue gun 20 or so inches above the cage and squeeze away moving around in random spastic motions. This is the only hot glue project you want all those annoying threads. You can't go wrong here and if too much you can always go back and trim away excess. The hot glue is great as it will last forever and looks real.


I think I might add a huge oversized ol' rusty lock to the cage this year.

Countdown to Halloween 2

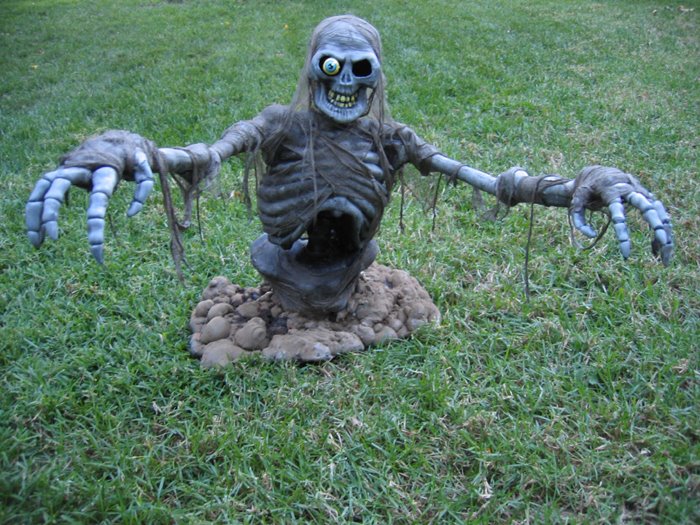
Here 's how I spent my Sunday afternoon ...making a zombie.

Click on picture to enlarge.

Mix in a large bowl...one cheap Big Lot's plastic skeleton, one small bag of Crayola Model Magic, one wooden dowel and one can of Great Stuff insulation foam. Garnish with paint and cheese cloth.

The Saturday Morning Cartoon

Woke up a little late today, technically it's the Saturday afternoon cartoon...


Countdown to Halloween...

It's been a full several months of constant work.

This weekend is a long overdue homework free one. I'm going to get messy working on something for me. The timing is perfect as the Halloween season is coming. It's time to start making new monsters zombies and ghouls for the frontyard.

Tonight I pulled the first random decoration box I saw on the garage shelf. What a cliche' holiday vingette appeared opening it...


I had to laugh and take a picture. It looks like something I'd art direct as a prop for a show... but it is as it was. Now that I think about it, I probably packed it this way last year so it looked like a cliche' Halloween prop box.

Under the Sea on Hollywood Blvd.

Everyone's tickets for The Little Mermaid at the El Capitan : a whole lotta money.


Parking: $8.00.


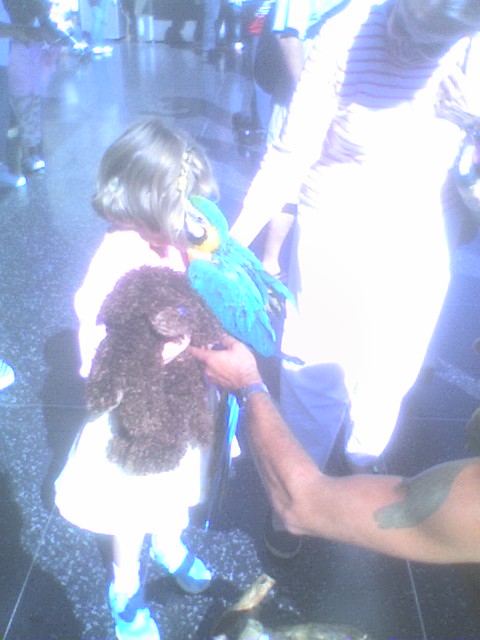
Tip to street performer for a first kiss from a parrot: $2.00.


2 quick bites of a hotdog to get to the chocolate milk shake at the Disney soda fountain: $15.00


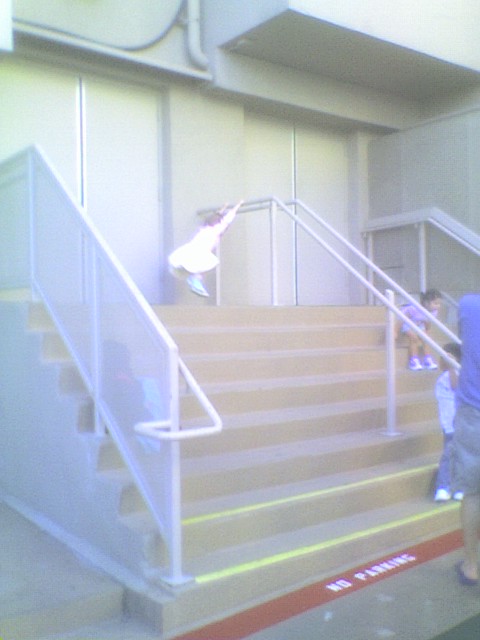
Seeing the world as her playground waiting in line ...

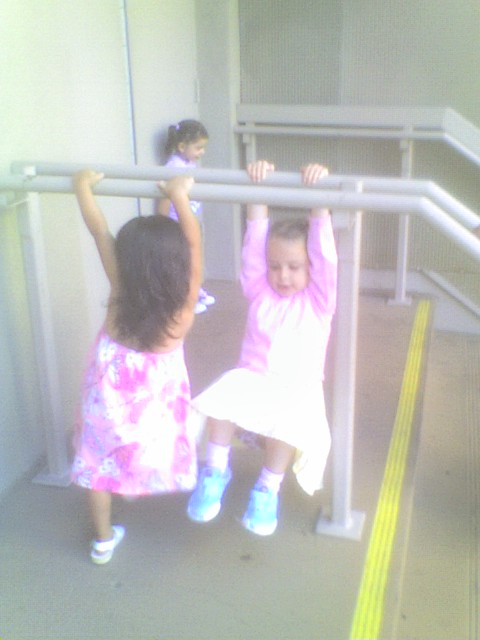
remembering how an ordinary handrail ...


can bring pure fun and joy...PRICELESS!